Image Shifting - Implementing from Scratch
In this article, we will learn how to shift or translate an image using NumPy.


Table of contents
Introduction
Image shifting is simply shifting each pixel of the image to a new position. This is a method of pixel shift used in digital cameras to produce super-resolution images. We can think of a pixel as a point in the coordinate axis to be shifted in any direction. When we implement this on all the pixels of the image then we can say the image is shifted.
In this blog article, we will try to shift the image as we shift the point in the coordinate axis completely using NumPy operations. The image is always considered as a 2D plane, hence we shall also consider a 2D coordinate axis having X as the horizontal axis and Y as the vertical axis.
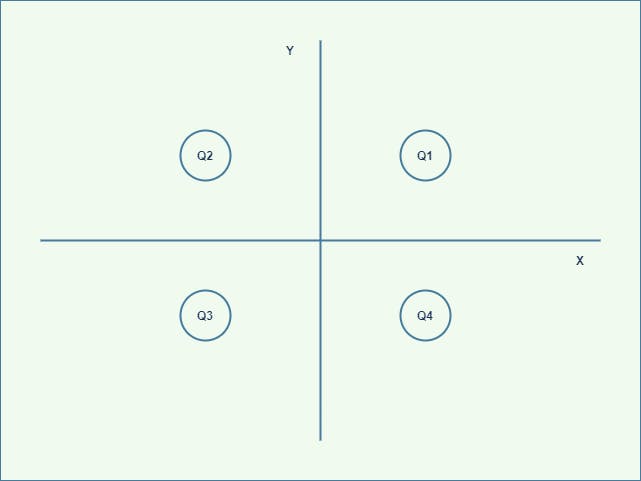
The coordinate axis is divided into 4 quadrants namely -
- Q1 → Quadrant where both
XandYare positive. - Q2 → Quadrant where
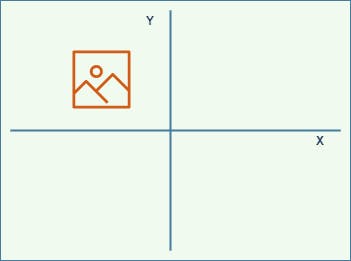
Xis negative andYis positive. - Q3 → Quadrant where both
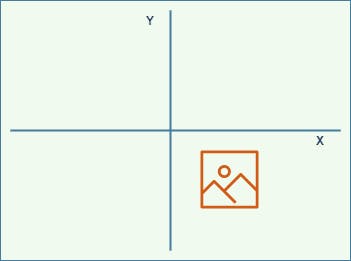
XandYare negative. - Q4 → Quadrant where
Xis positive andYis negative.
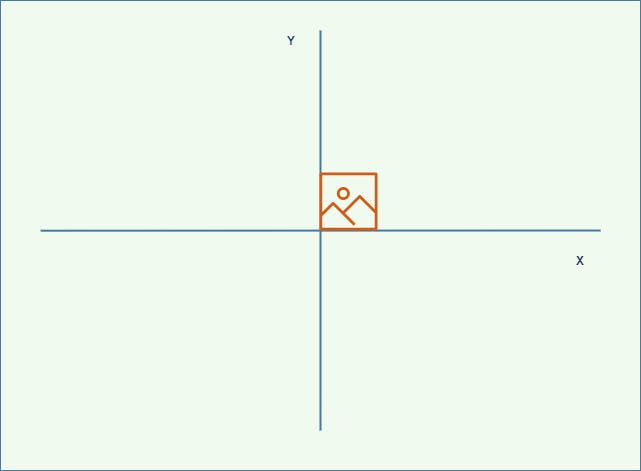
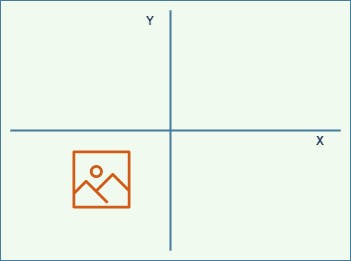
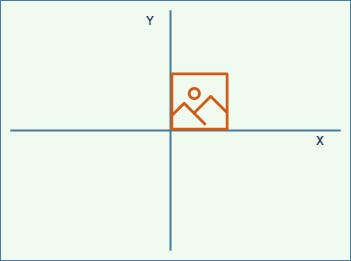
We assume that our original image to be at origin i.e., (0, 0).
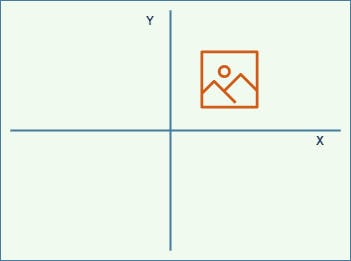
Now, let's say we want to shift the image at coordinates (3, 4). Basically, the origin of the image has to be shifted from (0, 0) to (3, 4).
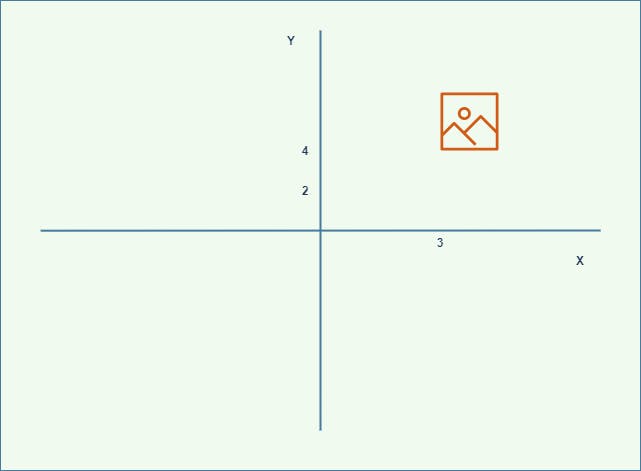
Likewise, based on the coordinate points, we need to shift the image. Let's try to understand and implement from scratch using the module NumPy starting from a 2D matrix because images are just large matrices.
Credits of Cover Image - Photo by James Lewis on Unsplash
Time to Code
The packages that we mainly use are:
- NumPy
- Matplotlib
- OpenCV → It is only used for reading the image (in this article).

import the Packages
import numpy as np
import cv2
import json
from matplotlib import pyplot as plt
2D Matrix
We will be creating a 5 X 5 matrix having random numbers.
>>> import random
>>>
>>> mat = [[random.randint(5, 100) for i in range(5)] for j in range(5)]
>>> mat = np.matrix(mat)
>>> print(mat)
[[ 46  13  68  54  12]
 [  7  68  32  46  26]
 [ 46  43  58  27 100]
 [ 64  59  76 100  41]
 [ 35  62  56  44   7]]
>>>
For instance, let us assume that we are shifting the image in Q1. For sure the image has to move right side towards the X axis and topside towards the Y axis. The size of the image increases as we have to pad the image's left side as per the x coordinate depth and the bottom side as per the y coordinate depth.
In the case of shifting the image in other quadrants, the same process has to be replicated.
Let's create a padding function that can pad the image on all sides depending on the depth that is passed.
def pad_vector(vector, how, depth, constant_value=0):
    vect_shape = vector.shape[:2]
    if (how == 'upper') or (how == 'top'):
        pp = np.full(shape=(depth, vect_shape[1]), fill_value=constant_value)
        pv = np.vstack(tup=(pp, vector))
    elif (how == 'lower') or (how == 'bottom'):
        pp = np.full(shape=(depth, vect_shape[1]), fill_value=constant_value)
        pv = np.vstack(tup=(vector, pp))
    elif (how == 'left'):
        pp = np.full(shape=(vect_shape[0], depth), fill_value=constant_value)
        pv = np.hstack(tup=(pp, vector))
    elif (how == 'right'):
        pp = np.full(shape=(vect_shape[0], depth), fill_value=constant_value)
        pv = np.hstack(tup=(vector, pp))
    else:
        return vector
    return pv
The above function is used to pad the image. The arguments used are as follows:
- vector → a matrix in which the padding is done.
how → this takes four values that decide the quadrants where the image needs to be shifted.
- lower or bottom
- upper or top
- right
- left
- depth → the depth of the padding.
- constant_value → signifies
blackcolor and0is the default value.
Note - For the padding-right and padding-left, we use the method hstack(). In the same way, for the padding-top and padding-bottom, we use the method vstack(). These two are the NumPy methods.
- hstack() → horizontal stack
- vstack() → vertical stack
Based on the depth, the padding matrix whose values are zeros is created. Similarly, based on the direction, this padding matrix is stacked accordingly with the original matrix.
Let's test the above function.
>>> pmat = pad_vector(vector=mat, how='left', depth=3)
>>> print(pmat)
[[  0   0   0  46  13  68  54  12]
 [  0   0   0  7   68  32  46  26]
 [  0   0   0  46  43  58  27 100]
 [  0   0   0  64  59  76 100  41]
 [  0   0   0  35  62  56  44   7]]
>>>
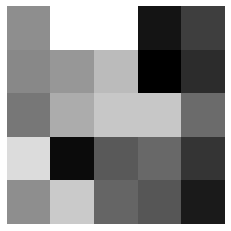
We can clearly see that the function padded the matrix left side with the depth level 3. If we were to plot the same (convert the padded matrix into an image), we will have something like the below.
>>> plt.axis("off")
>>> plt.imshow(pmat, cmap='gray')
>>> plt.show()

Whereas the original image is -
With this, we can conclude the image is shifted to the right side towards the X axis with the x coordinate 3. The same technique is applied to the real image. Let's try that.
We shall have a function to read the image both in grayscale and RGB format.
def read_this(image_file, gray_scale=False):
    image_src = cv2.imread(image_file)
    if gray_scale:
        image_src = cv2.cvtColor(image_src, cv2.COLOR_BGR2GRAY)
    else:
        image_src = cv2.cvtColor(image_src, cv2.COLOR_BGR2RGB)
    return image_src
Let's make another function called shifter() which actually shifts the image along the Y axis irrespective of the quadrant.
def shifter(vect, y, y_):
    if (y > 0):
        image_trans = pad_vector(vector=vect, how='lower', depth=y_)
    elif (y < 0):
        image_trans = pad_vector(vector=vect, how='upper', depth=y_)
    else:
        image_trans = vect
    return image_trans
Now that we have the shifter() function, we will need to use this in another function that can shift anywhere in the coordinate axis. Here, we consider X and Y axes.
def shift_image(image_src, at):
    x, y = at
    x_, y_ = abs(x), abs(y)

    if (x > 0):
        left_pad = pad_vector(vector=image_src, how='left', depth=x_)
        image_trans = shifter(vect=left_pad, y=y, y_=y_)
    elif (x < 0):
        right_pad = pad_vector(vector=image_src, how='right', depth=x_)
        image_trans = shifter(vect=right_pad, y=y, y_=y_)
    else:
        image_trans = shifter(vect=image_src, y=y, y_=y_)

    return image_trans
- When
xandycoordinates are greater than 0, pad the image left side and bottom side.
- When
xis greater than 0 andyis less than 0, pad the image left side and topside.
- When
xis less than 0 andyis greater than 0, pad the image right side and bottom side.
- When
xandycoordinates are less than 0, pad the image right side and topside.
- When
xandycoordinates exactly equal to 0, do not disturb the image.
There is one problem yet to translate or shift the image. An image can be of two types - grayscale and colored. For grayscale, there won't be any problem. But for the colored image, we need to separate RGB pixels, apply the shift function, and then finally combine the pixels. Hence the below function is helpful for shifting both RGB image and grayscale image.
def translate_this(image_file, at, with_plot=False, gray_scale=False):
    if len(at) != 2: return False

    image_src = read_this(image_file=image_file, gray_scale=gray_scale)

    if not gray_scale:
        r_image, g_image, b_image = image_src[:, :, 0], image_src[:, :, 1], image_src[:, :, 2]
        r_trans = shift_image(image_src=r_image, at=at)
        g_trans = shift_image(image_src=g_image, at=at)
        b_trans = shift_image(image_src=b_image, at=at)
        image_trans = np.dstack(tup=(r_trans, g_trans, b_trans))
    else:
        image_trans = shift_image(image_src=image_src, at=at)

    if with_plot:
        cmap_val = None if not gray_scale else 'gray'
        fig, (ax1, ax2) = plt.subplots(nrows=1, ncols=2, figsize=(10, 20))

        ax1.axis("off")
        ax1.title.set_text('Original')

        ax2.axis("off")
        ax2.title.set_text("Translated")

        ax1.imshow(image_src, cmap=cmap_val)
        ax2.imshow(image_trans, cmap=cmap_val)
        return True
    return image_trans
Demonstration
Testing for the regular RGB image.
translate_this(
    image_file='lena_original.png',
    at=(60, 60),
    with_plot=True
)
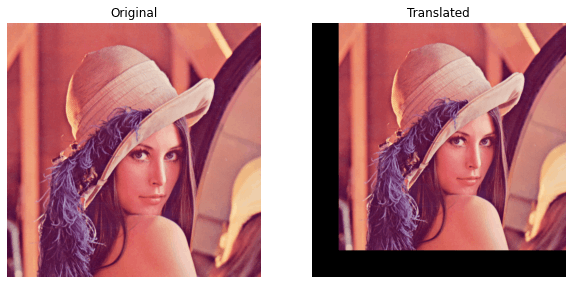
Clearly, the image is shifted to the origin (60, 60) i.e., in the first quadrant (Q1).
Now let's test for the regular grayscale image.
translate_this(
    image_file='lena_original.png',
    at=(-60, -60),
    with_plot=True,
    gray_scale=True
)
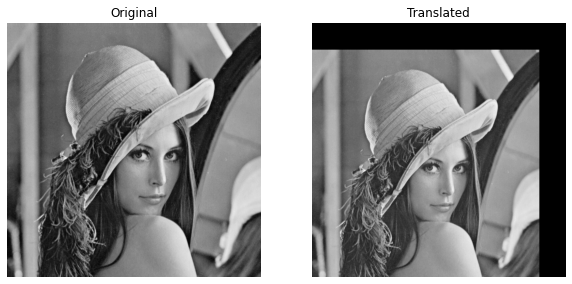
Clearly, the image is shifted to the position (-60, -60) i.e., in the third quadrant (Q3).
Well, that's it for this article. From this, we tried to understand how the image shifting process is done.